Backup and restore
Backup and Restore is an important feature for any PBX administrator. In this blog, we explain how to backup 3CX, what’s included in the backup file as well as how to restore it.
Let’s start with the backup file. The backup utility of 3CX will store all the necessary information of the PBX into a single ZIP file, making it very easy to use.
The backup file can be used in a variety of scenarios:
For instance, if you need to change the hardware of the server, you can take a backup of the PBX, and install the PBX on a new host machine, restoring the backup during the installation process. This will restore all your settings to the new machine, without any cumbersome re-configuring of the PBX from scratch. Migrating the host could also mean that you change from a hosted to an on-premise solution, and vice versa.
If you want to migrate from a Windows based 3CX to the Linux based 3CX or vice versa, you can do so by taking a backup and restoring your configuration to the other Operating System. The same backup file is used for both operating systems, with absolutely no modification of the backup zip file required.
How to do a backup
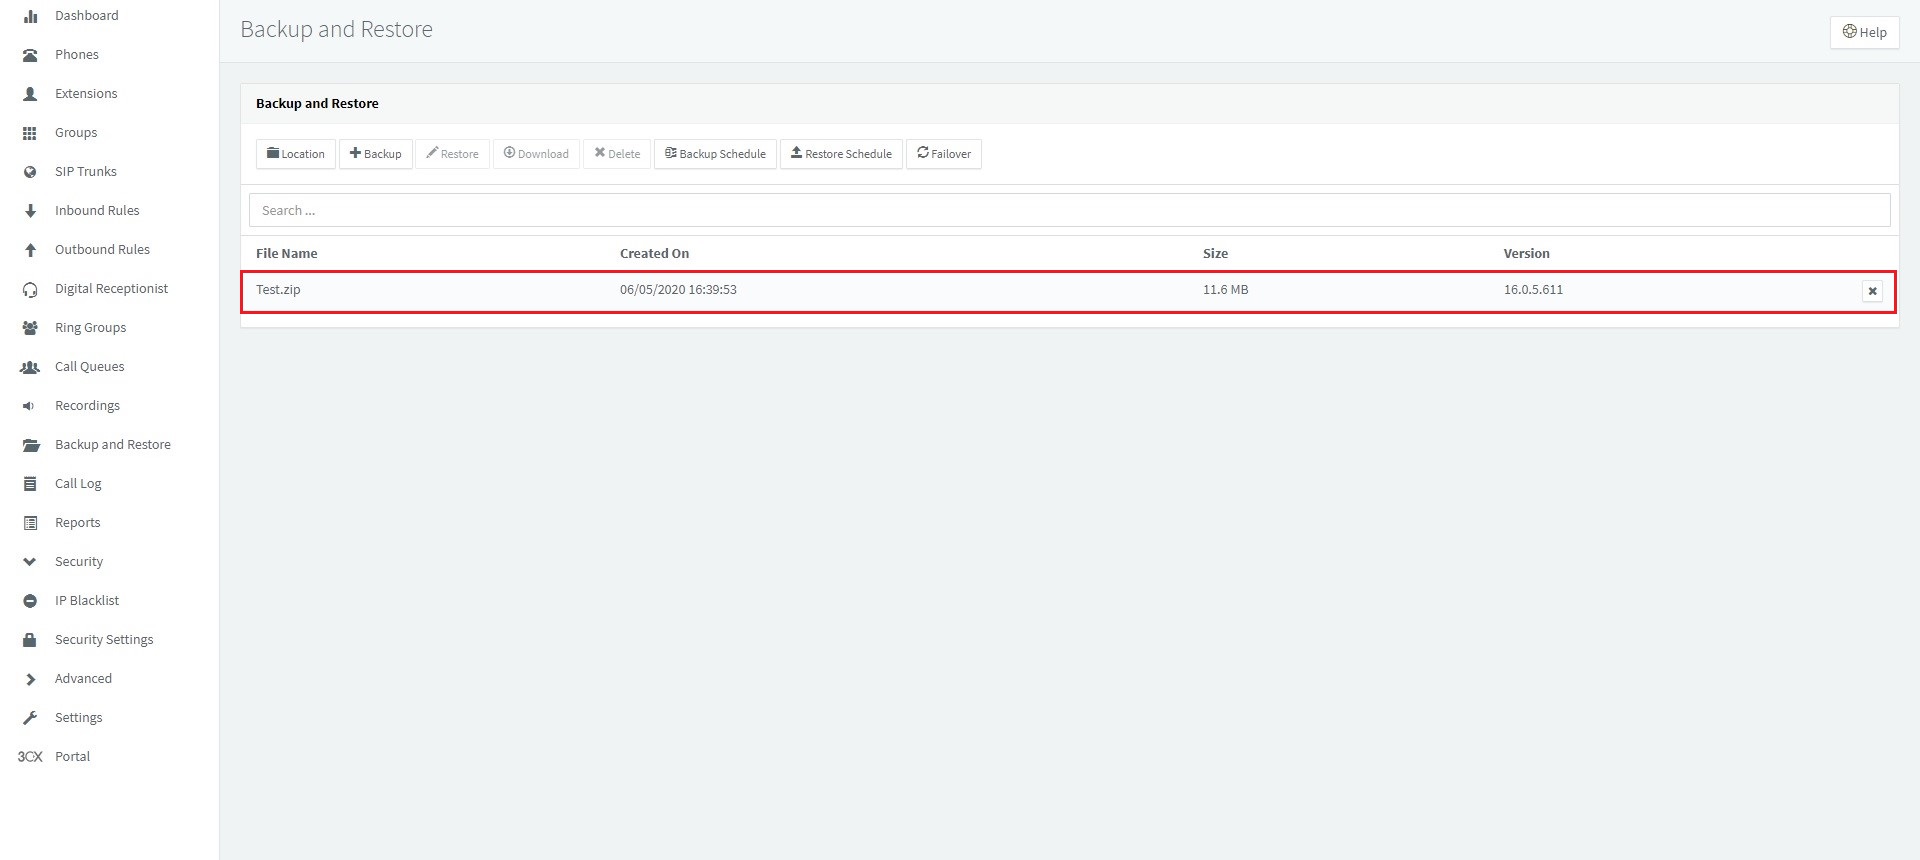
The Backup and Restore functionality can be found within the 3CX Management Console, in the “Backup and Restore” page, on the left hand menu.
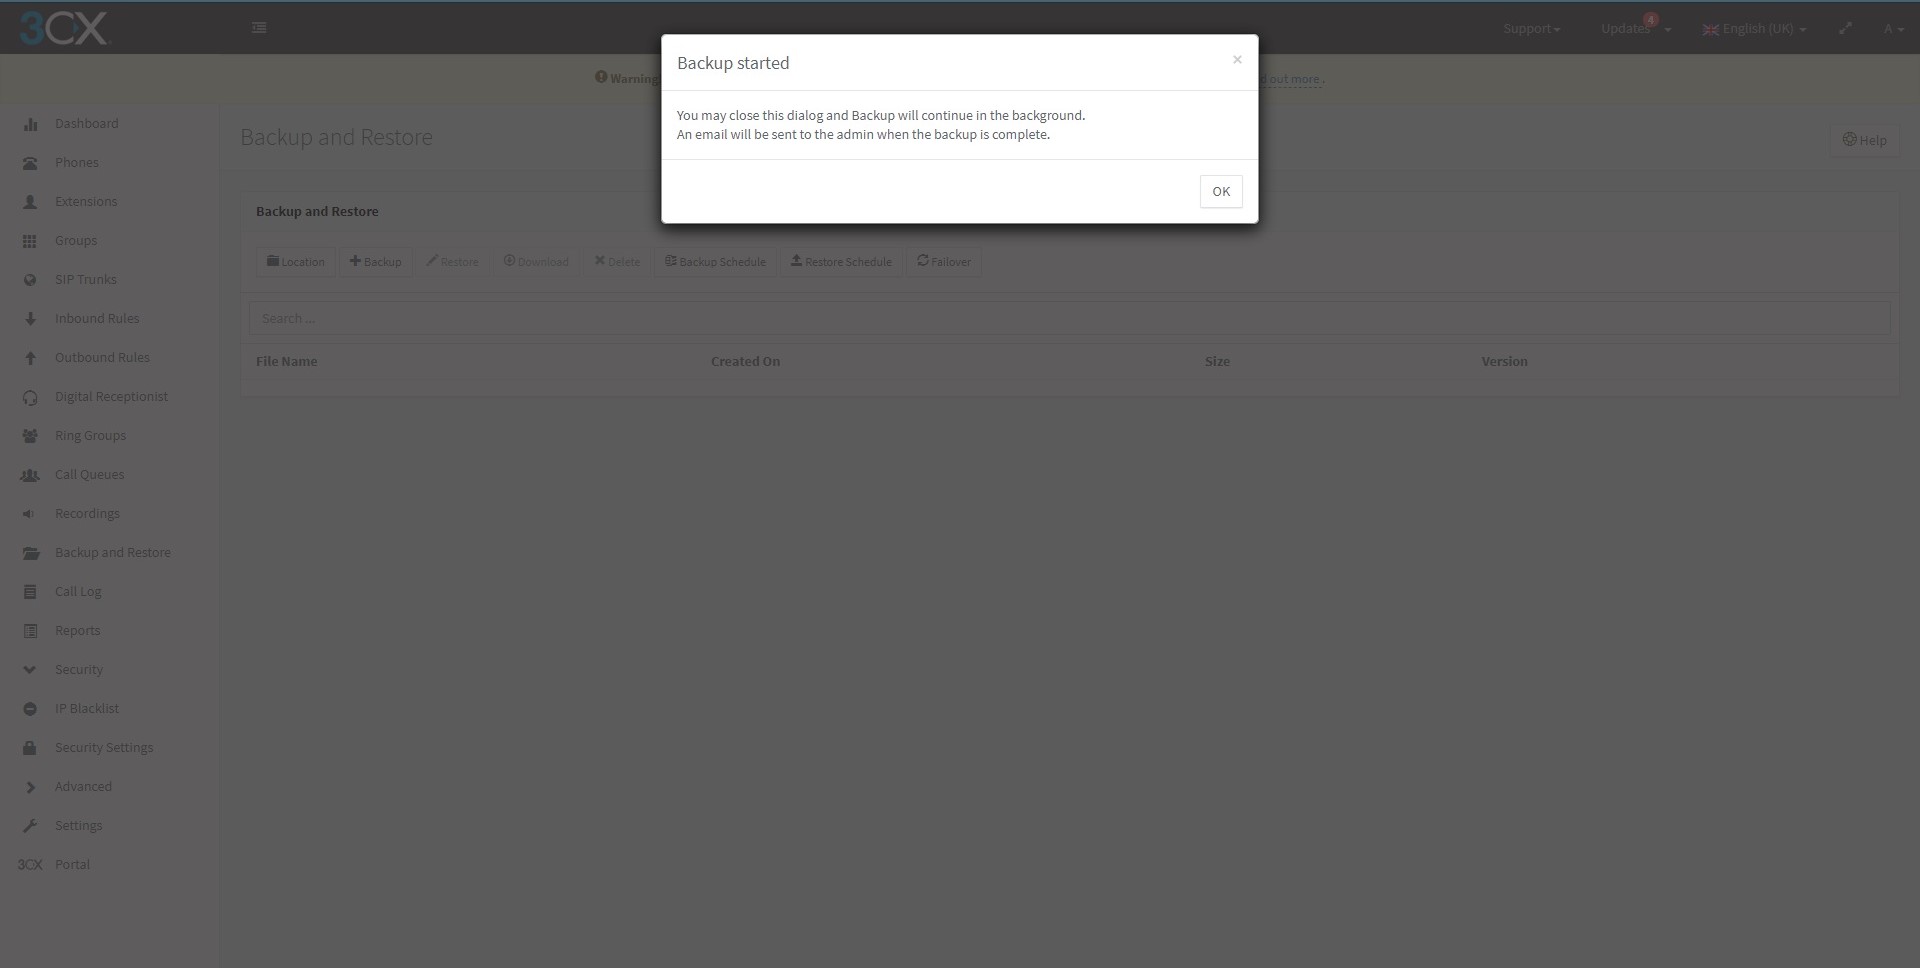
A backup can be created at any time, on demand. You can create as many backups as you require, in order to assist with restoring a PBX back to its previous state, before a reconfiguration is made.
The backup file will always contain the main configuration of the PBX. Therefore whatever happens, you will at least have the configuration of the PBX. This includes the extension and extension group settings.
The SIP Trunk settings, as well as the respective inbound and outbound rules will also be included.
Any configuration of system extensions, for example, queues, ring groups and digital receptionists will also be backed up.
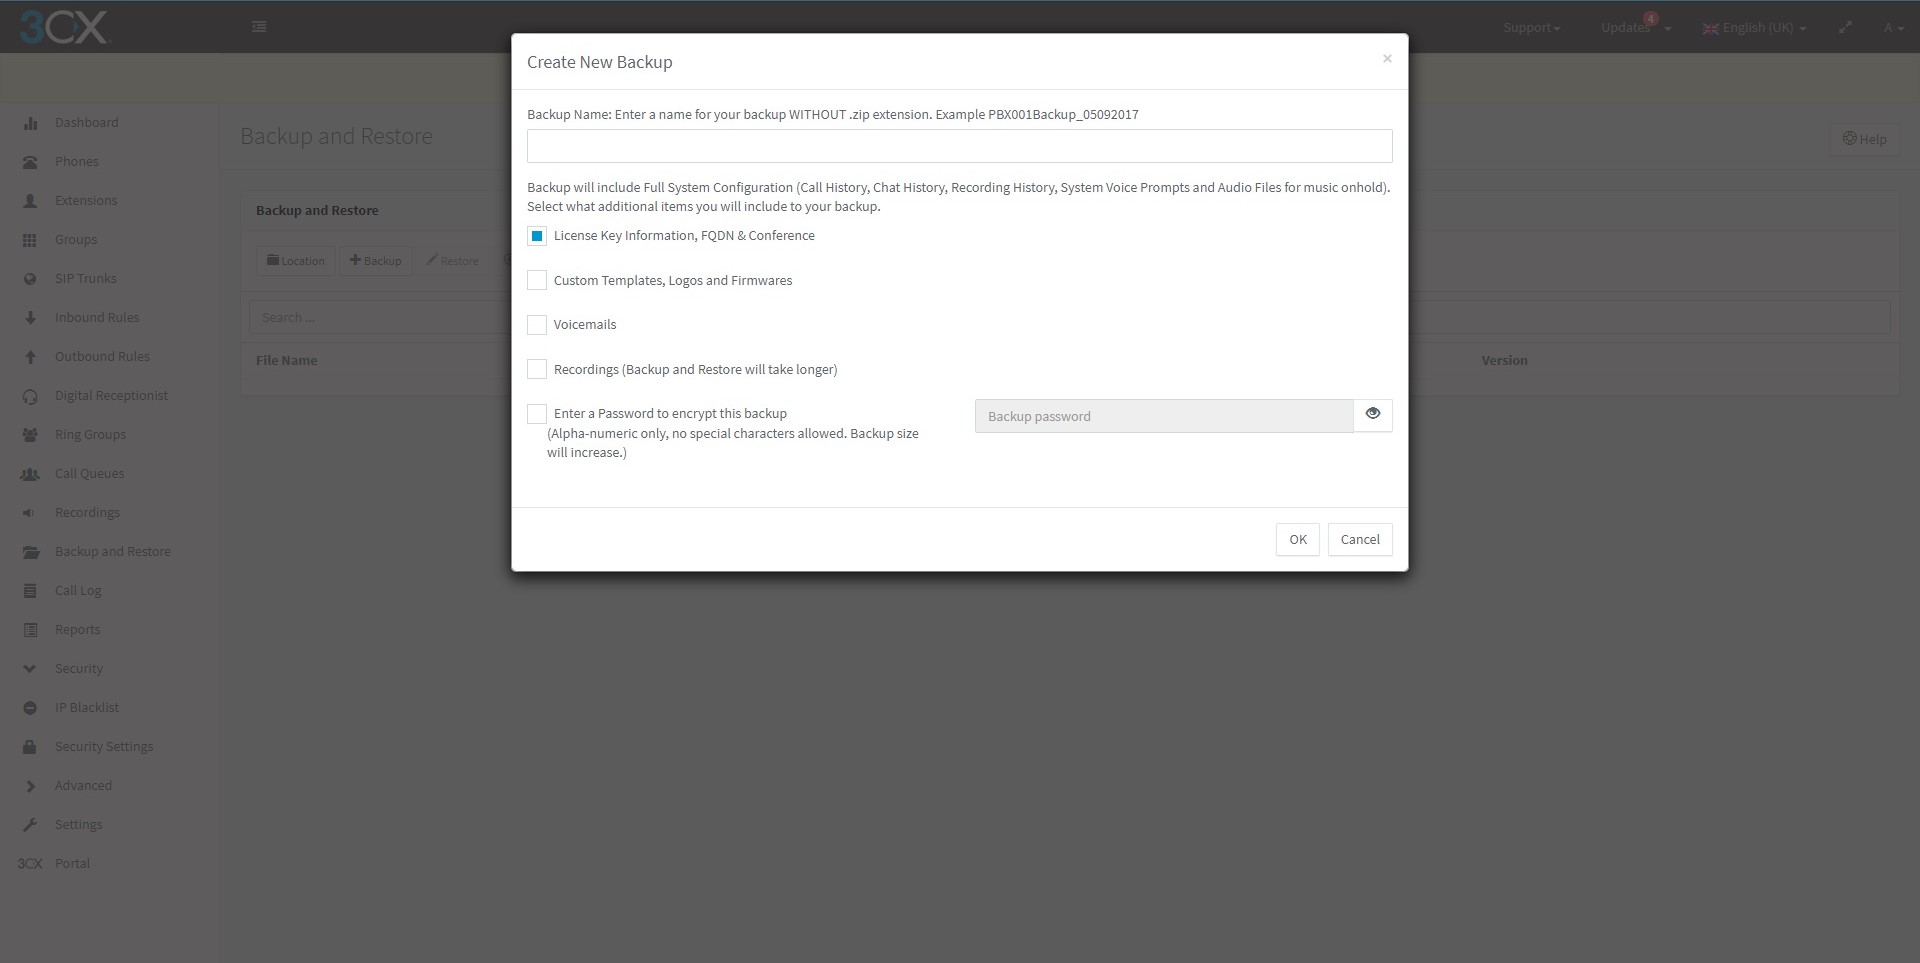
The PBX also provides you with some optional components which can be included in your backup.
For example, the License key information, FQDN and networking information can also be backed up or not. This will need to be deselected if you wish to change your FQDN which is assigned to the PBX.
The Call logs, chats and conferencing data will also be backed up if the relevant option is chosen. A large amount of Call history data, will cause the backup and restore procedure to slow down significantly.
Any system prompts, including custom system prompts as well as custom music on hold audio files will also be backed up.
Custom templates as well as IP Phone firmware files, can also be backed up. Have in mind that the firmware files can increase the size of the backup file drastically, as some of these are quite large files. Also with customisation of templates, please ensure your customisation is still valid and current with any possible firmware and version upgrades.
Another option which will affect the size of the backup is the Voicemails option. This will backup all the voicemail files in the system, and as these are audio WAV files, depending on the size of the PBX, and how many extensions you have, will increase the backup size substantially.
Call recordings will also increase the size of the backup file of the PBX, as this does also depend on the number of extensions being recorded.
This is where you will be able to create a password for the backup encryption, as well.
How to restore using your backup file
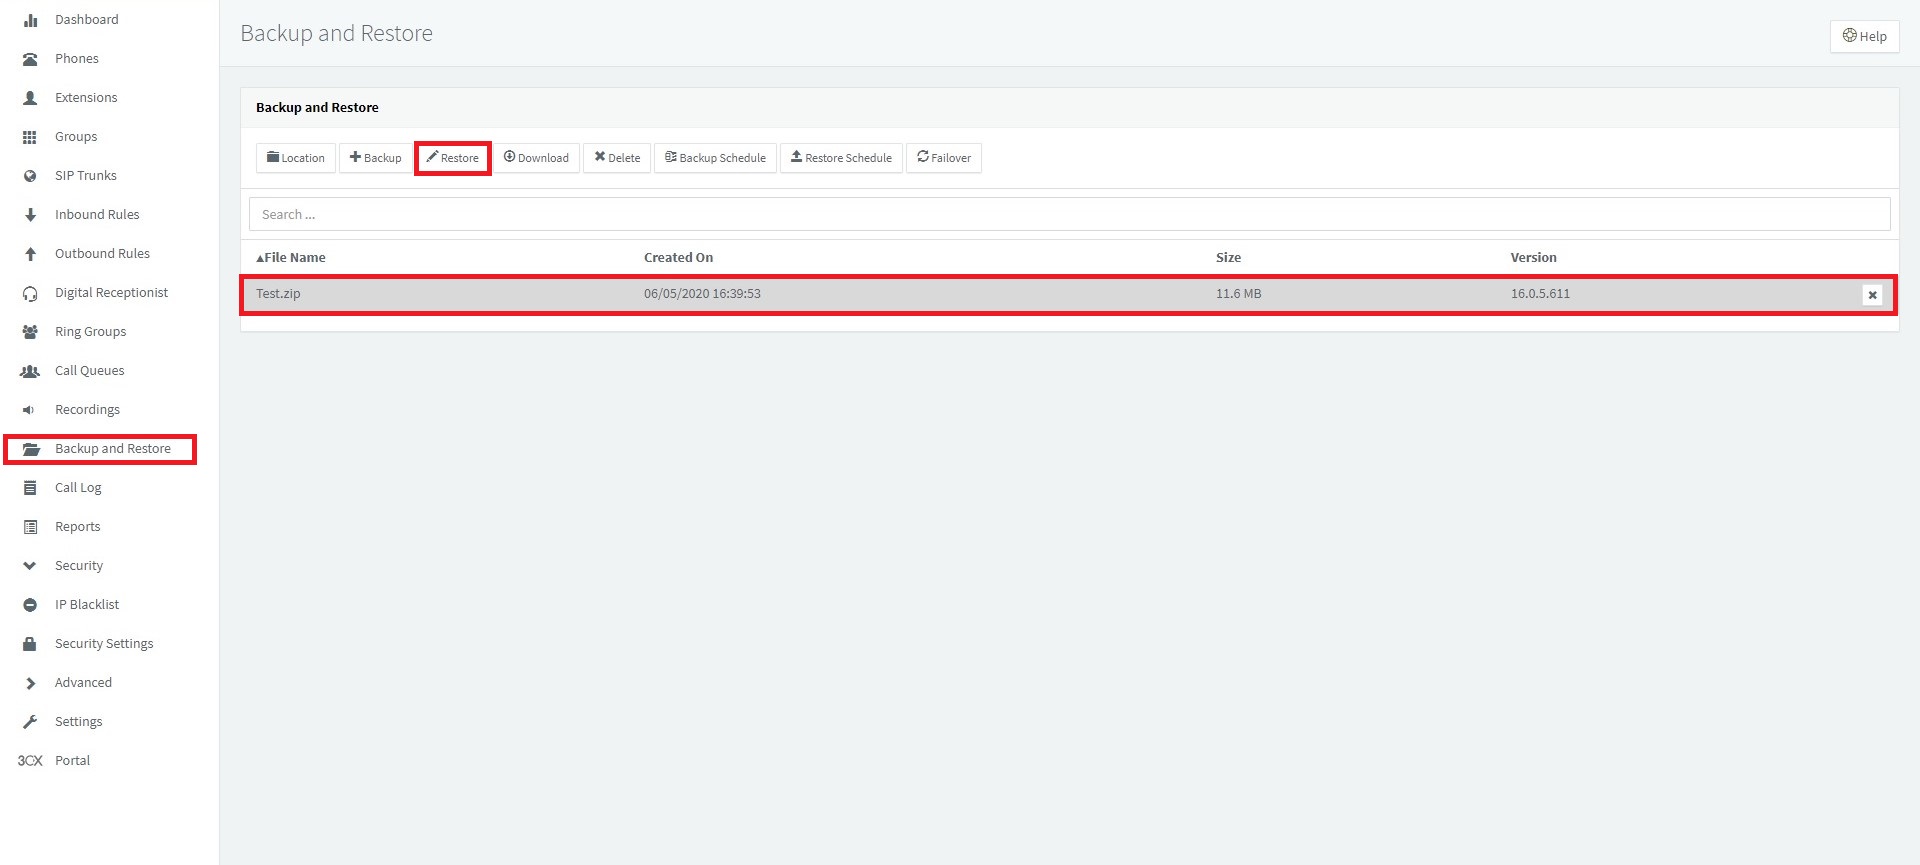
To restore your system from a backup file is quite easy. Simply go to 3CX Management Console, navigate to the “Backup and Restore” page, on the left hand menu, select your backup file, press restore and you will be prompted to confirm restore, just click on ok, and the restore process should start. You can tell, because you will be automatically logged out.
We hope this is useful to you. If you have any more questions, do not hesitate to give us a call on 0203 653 1380 or fill in the below form.


