Our initial set up will take you through the basic setup of Hikvision NVR DS 7600 Series and Hikvision EXIR TURRET Network camera without the need of the internet. We will show you how to optimize recording, how to set up motion detection and how to save your space on your hard disc while recording. We are always advising our customers to create also separate users-operators. This will give you nearly all the privileges as an admin.
Hikvision basic setup
- NVR
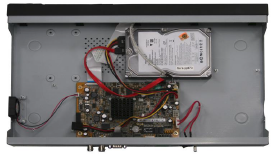
- Install the HDD (some of the NVRs are coming without installed HDD, so make sure you will purchase one)
- Connect the power cable, HDMI or other supported cable for the monitor and mouse (at this stage it is not necessary to connect it to the internet)
- Connect your cameras
2. The basic setup of NVR
- power it up
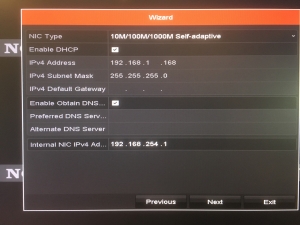
- Follow the basic set up on the screen
- Enable DHCP while doing the setup, if it is not selected
- After the initial setup go to the menu by right-clicking the mouse button anywhere on the screen
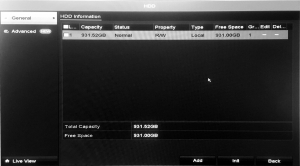
- Select HDD, under general select your HDD, then click Init (this will format your disc and you are ready for recording)
3. Camera
- You might not see your camera on the screen yet
- In the main menu, select camera – > camera management
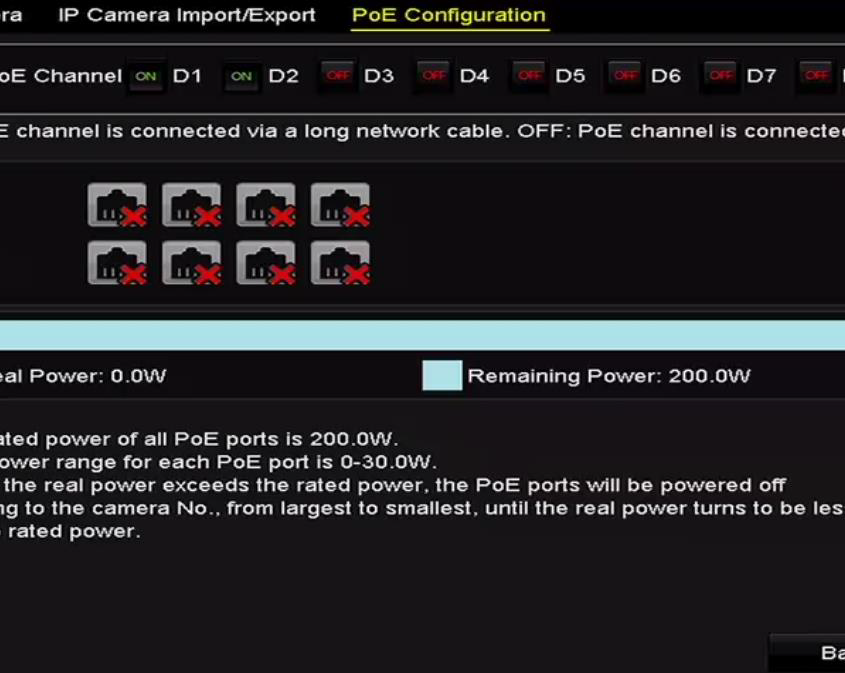
- In Camera submenu, go to Camera->PoE Settings->PoE Channel
- If it is OFF(red), you click on it you should see now green ON sign and this will power up your camera, give it some time to start it up
- Go back and exit the menu, you should see the camera picture on the screen
4. The basic setup of the camera
- Right-click -> main menu -> camera
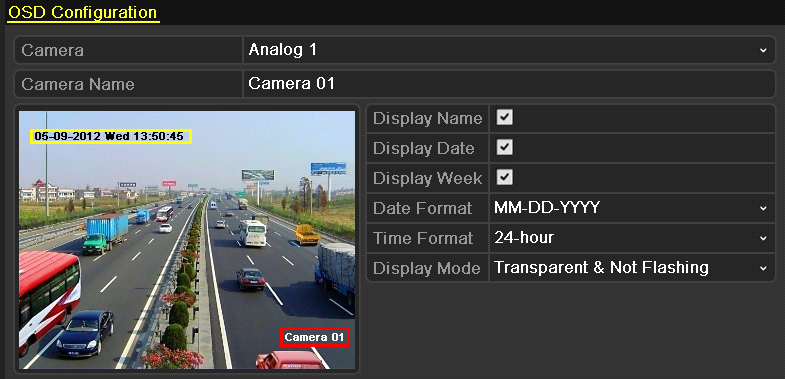
- Under OSD you can change the name of the camera – usually something related to it, ex. Garden – back
- Under Motion, you can select the area (left click on the mouse and drag in the picture), that will activate the recording or the alarm, you will find this option under settings in motion. For example, you mark the door, so if someone will open it the camera will start to record. Bear in mind that if you have continuous recording enabled, the camera will record regardless of any motion detected. If you plan to record continuously, then it is not necessary to do this step.
- Privacy mask – you can select the area you don’t want to be visible, again left mouse click and drag in the picture, you can have multiple areas, and apply
5. Recording optimization – this will maximize your recording time on you HDD and you can select how and when you want your camera record
- Main menu -> record
- Submenu Schedule – here you will decide how you want your camera record – by default it is Continuous – all squares will be the same colour as it shows for Continuous. For example, you can change it for Motion only -> you select first none, then left mouse click on the squares drag it. This will clear all these squares, then you select Motion square on the right side and again drag it over the squares you would like it to record(day and time of the day). You could do a mix of these options, depending on the times and days. Don’t forget to hit Apply to save the change you have made
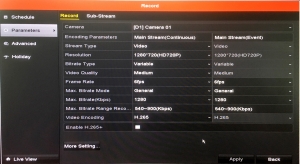
- Submenu Parameters –
- Resolution – higher resolution fill up the disc faster, HD resolution should be enough for a good picture
- Bitrate Type – leave it on Variable
- Video Quality – set it up for Medium, this should provide good quality of the picture
- Frame Rate – 12fps is sufficient, but feel free to experiment
- Mas. Bitrate Mode – leave it on Genera
- Max. Bitrate(Kbps) – 1024 – that will depend on your internet
These setting are sufficient for good quality pictures. We recommend you to check your recordings. If you are not happy with the picture quality, increase the resolution, video quality and frame rate. This will automatically increase the amount of data you are saving on your HDD, so make sure it has enough capacity for all your data from all your connected cameras.
We hope this is useful to you. Should there be any deviation from behaviour of your router or you have some advanced questions, do not hesitate to give us a call on 0203 653 1380 or fill in the below form.

