Draytek with BT Infinity
How to set up Draytek Vigor 2860 for BT Infinity FTTC connection
In one of our previous articles, we spoke about improving your WiFi at home. One of suggested solutions was using Draytek router with their WiFi APs and using AP Central feature of the router. Routers that are provided from ISPs (Internet Service Providers) are often equipped with little configuration options. With business or home users often needing port forwarding, remote access, bandwidth control or firewall configuration, advanced router settings are needed. Here we are looking at setting up and configuring Draytek With BT Infinity service.
But what happens when you buy such router? You call your ISP and the person on the other sides tells you that they either don’t support third party equipment or their knowledge may be limited and are unable to help.
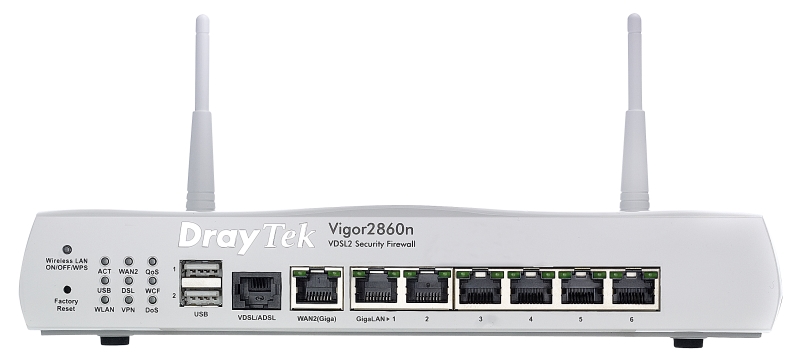
In this particular case, we have prepared quick step by step guide for those with Draytek Vigor 2860 (n, ac, Vn) router to help you set it up with BT Infinity (FTTC) fibre optic connection.
STEP 1. LOG IN
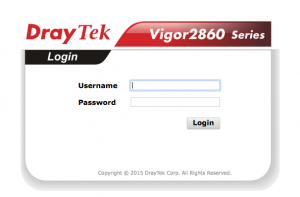
Firstly, you have to log in to your new router. Draytek 2860 is set for DHCP by default. Default IP address is 192.168.1.1 so type that in to your browser and press enter. You will get the login page.
STEP 2. DEFAULT USERNAME AND PASSWORD
Default username is admin and password admin.
STEP 3. DASHBOARD
Once you are logged in, you will see the default Dashboard.
STEP 4. WAN
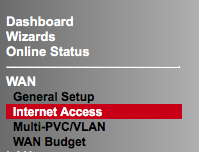
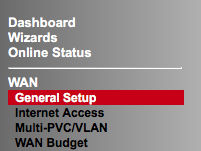
From the left hand side menu, click on WAN and select Internet Access.
STEP 5. WAN INTERFACE
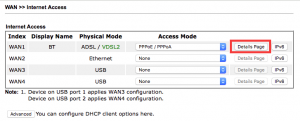
Select Details Page in WAN1 section.
STEP 6. WAN CONFIGURATION
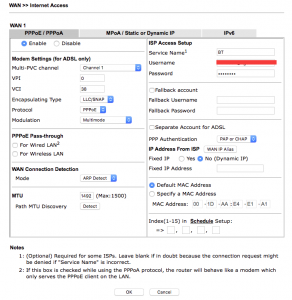
In the WAN configuration page, you will specify broadband connection details such as username and password. Your username is specified by the BT and can be firstname.lastname@btbroadband.com. Please, confirm that with BT. The BT Broadband network does not need a password, however some routers do insist a password is entered. If a password is required we recommend you enter ‘password’, and confirm as required. With regards to connection settings, see the picture below. Click OK once all the settings are entered.
STEP 7. GENERAL SETUP
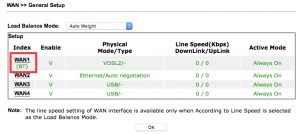
Click on General Setup and select WAN1.
STEP 8. WLAN TAG
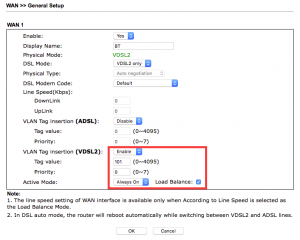
Change VLAN Tag insertion (VDSL2) section to:
-
- Tag Value: 101
-
- Priority: 0
You can also change the DSL mode to VDSL2 only.
STEP 9. CONFIRMATION
Confirm by selecting OK. Reboot the router using current configuration. When you log back on to your router, give it few minutes and your router should get connected. If you have any problems, please, give us a call or drop us a message.
We hope this is useful to you. Should there be any deviation from behaviour of your router or you have some advanced questions, do not hesitate to give us a call on 0203 653 1380 or fill in the below form.

